


Thank you for our new mat for the trampoline. The price was competitive and your delivery was very fast! We received it in less than a week, which made our children happy! Thank you!
WendySaskatchewan
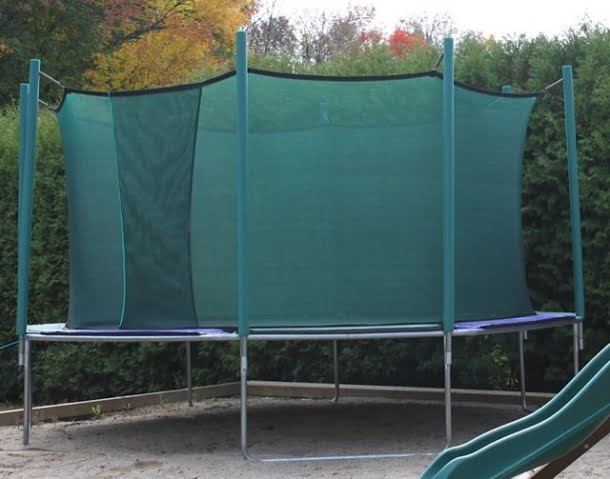
I just wanted to let you know that after you delivered the Trampoline, I immediately assembled it (under great duress from my impatient daughters I might add). For the most part assembly was very easy (I had just a few of the poles to hammer down as they were a tight fit, but otherwise it was a breeze). The girls were on it the second the work was done, and have hardly been off of it since. I just wanted to share with you how pleased with our purchasing decision we are, and again express our appreciation for the prompt delivery.
Scott, Krys, Courtney and Cassidy
Previous
Next